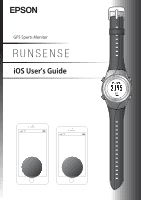
Epson Runsense SF-810 User Manual - Epson Run Connect for iOS - Page 5
Setup, Installing the Epson Run Connect app, Creating a RUNSENSE View account, Creating a new account
 |
View all Epson Runsense SF-810 manuals
Add to My Manuals
Save this manual to your list of manuals |
Page 5 highlights
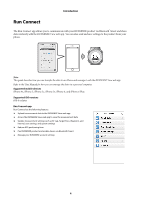
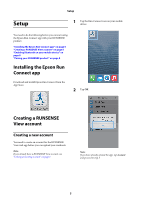
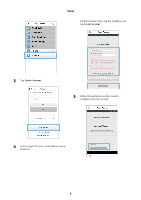
Setup Setup 1 Tap the Run Connect icon on your mobile device. You need to do the following before you can start using the Epson Run Connect app with your RUNSENSE product. "Installing the Epson Run Connect app" on page 5 "Creating a RUNSENSE View account" on page 5 "Enabling Bluetooth on your mobile device" on page 8 "Pairing your RUNSENSE product" on page 8 Installing the Epson Run Connect app Download and install Epson Run Connect from the App Store. 2 Tap OK. Creating a RUNSENSE View account Creating a new account You need to create an account for the RUNSENSE View web app before you can upload your workouts. Note: If you already have a RUNSENSE View account, see "Linking an existing account" on page 7. Note: If you have already opened the app, tap Account and proceed to step 3. 5
-
 1
1 -
 2
2 -
 3
3 -
 4
4 -
 5
5 -
 6
6 -
 7
7 -
 8
8 -
 9
9 -
 10
10 -
 11
11 -
12
-
13
-
14
-
15
-
16
-
17
-
18
-
19
-
20
-
21
-
22
-
23
-
24
-
25
-
26
-
27
-
28
-
29
-
30
-
31
-
32
-
33
-
34
-
35
-
36
-
37
-
38
-
39
-
40
 |
 |
