Xerox C2424 User Guide Section 4: Scanning - Page 3
Scanning the Originals at the System, Clear All, Start, Clear/Clear All - won t scan to public folder
 |
UPC - 095205676532
View all Xerox C2424 manuals
Add to My Manuals
Save this manual to your list of manuals |
Page 3 highlights
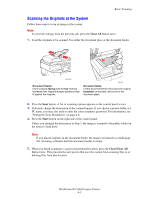
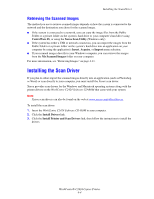
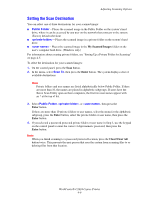
Basic Scanning Scanning the Originals at the System Follow these steps to scan an image at the system: Note To clear the settings from the previous job, press the Clear All button twice. 1. Load the originals to be scanned. Use either the document glass or the document feeder. 2424-076 Document Feeder Insert originals faceup with the top entering the feeder first. Adjust the paper guides so they fit against the originals. 2424-065 Document Glass Lift the document feeder, then place the original facedown on the back, left corner of the document glass. 2. Press the Scan button. A list of scanning options appears on the control panel screen. 3. If desired, change the destination of the scanned images. If you choose a private folder or a PC name, you may also need to enter the correct numeric password. For information, see "Setting the Scan Destination" on page 4-6. 4. Press the Start button on the right side of the control panel. Unless you changed the destination in Step 3, the image is scanned to the public folder on the system's hard drive. Note If you placed originals in the document feeder, the images are placed in a multi-page file. Scanning continues until the document feeder is empty. 5. When you finish scanning to a password protected location, press the Clear/Clear All button twice. This prevents the next person that uses the system from scanning files to or deleting files from that location. WorkCentre® C2424 Copier-Printer 4-3
-
 1
1 -
 2
2 -
 3
3 -
 4
4 -
 5
5 -
 6
6 -
 7
7 -
 8
8 -
 9
9 -
10
-
11
-
12
-
13
-
14
-
15
-
16
-
17
-
18
-
19
-
20
-
21
 |
 |
