Panasonic HX-A1M Basic Owners Manual
Panasonic HX-A1M Manual
 |
View all Panasonic HX-A1M manuals
Add to My Manuals
Save this manual to your list of manuals |
Panasonic HX-A1M manual content summary:
- Panasonic HX-A1M | Basic Owners Manual - Page 1
No. Please read these instructions carefully before using this product, and save this manual for future use. More detailed operating instructions are available in "Owner's Manual (PDF format)". To you have any questions, visit : U.S.A. : www.panasonic.com/support Canada : www.panasonic.ca/english - Panasonic HX-A1M | Basic Owners Manual - Page 2
terminal section of your camera. Be sure to retain this manual as your convenient camera information source. Date of Purchase Dealer Purchased remove covers. ≥ Do not repair this unit by yourself. Refer servicing to qualified service personnel. CAUTION! To reduce the risk of fire, electric shock - Panasonic HX-A1M | Basic Owners Manual - Page 3
Caution: To assure continued compliance, follow the attached installation instructions and use only shielded interface cables with ferrite core when Declaration of Conformity Trade Name: Model No.: Responsible Party: Support Contact: Panasonic HX-A1M Panasonic Corporation of North America Two - Panasonic HX-A1M | Basic Owners Manual - Page 4
U.S.A./CANADA CONSUMERS: ATTENTION: A lithium ion battery that is recyclable powers the product you have purchased. Please call 1-800-8-BATTERY for information on how to recycle this battery. THE FOLLOWING APPLIES ONLY IN THE U.S.A. FCC ID : ACJ-HX-A1M FCC CAUTION Changes or modifications not - Panasonic HX-A1M | Basic Owners Manual - Page 5
, or dishwashing liquid may alter the camera body or peel the surface finish. Do not use these solvents. ≥ When using a chemical dust cloth, follow the instructions that came with the cloth. When you are not going to use this unit for an extended time ≥ Store this unit in a cool place with - Panasonic HX-A1M | Basic Owners Manual - Page 6
the network settings ......... 20 Attaching this unit to a Multi Mount or Tripod Mount 21 Using a Multi Mount 21 Using a Tripod Mount 24 Troubleshooting 29 Requests when disposing of this unit ... 30 Specifications 32 About copyright 33 Optional accessories 35 Accessory Order Form (For USA - Panasonic HX-A1M | Basic Owners Manual - Page 7
If an impact to this unit occurs, it should be inspected (subject to a fee) by a Panasonic's Service center to verify that the waterproofing is still effective. ≥ The waterproof performance may be degraded due to the it, water may leak in and cause malfunctions and other problems. 7 (ENG) SQT0885 - Panasonic HX-A1M | Basic Owners Manual - Page 8
≥ Do not leave this unit for a long period of time in places where temperature is very low (at high altitude etc.) or very high (inside a car under strong sunlight, close to a heater, on the beach, etc.) waterproof performance may be degraded. ≥ The inside of this unit is not waterproof. Water - Panasonic HX-A1M | Basic Owners Manual - Page 9
4 Check that the terminal cover (waterproof), glasscover and rubber seals are neither cracked nor deformed. ≥ Be sure to read the supplied leaflet about the rubber seals. 5 Rotate the terminal cover (waterproof) and glasscover until they are attached firmly. ≥ Rotate them in the opposite directions - Panasonic HX-A1M | Basic Owners Manual - Page 10
≥ If you remove the terminal cover (waterproof) or glasscover without thoroughly drying this unit, water droplets may form on the card or other parts. Also, water may accumulate in the gap around the card slot or the terminal connector. Be sure to wipe any water off with a soft, dry cloth. ≥ If you - Panasonic HX-A1M | Basic Owners Manual - Page 11
are different formats, and are not therefore supported by this unit. ∫ About the portrait rights directly or indirectly due to any type of problems that result in loss of recording or edited this owner's manual may differ from the actual screens. ≥ Names, icons, contents and services of applications - Panasonic HX-A1M | Basic Owners Manual - Page 12
(Black) ≥ The glasscover (night mode) allows you to perform Night mode recording. For details, refer to the operating instructions (PDF format). Glasscover (normal shooting) *1 SFC0313 (Orange) SFC0314 (Black) Terminal cover (waterproof) *1, 2 SFC0317 (Orange) SFC0318 (Black) Terminal cover - Panasonic HX-A1M | Basic Owners Manual - Page 13
Preparation Power supply Charging the battery When this unit is purchased, the battery is not charged. Charge the battery fully before using this unit for the first time. ≥ This unit has a built-in rechargeable lithium-ion battery. Do not remove except when disposing of this unit. (l 30) ≥ It is - Panasonic HX-A1M | Basic Owners Manual - Page 14
use or charging. This is not a malfunction. ≥ For information about charging with a mobile USB charger or an AC adaptor, check the support site. http://panasonic.jp/support/global/cs/e_cam/index.html (This site is English only.) The socket outlet shall be installed near the equipment and shall be - Panasonic HX-A1M | Basic Owners Manual - Page 15
conforming to an SD Speed Class Rating of Class 4 or higher. If you use a microSD card with an SD Speed Class Rating that does not support the current recording setting, recording may stop suddenly. ≥ For the latest information on the cards that have been confirmed to operate with this unit, check - Panasonic HX-A1M | Basic Owners Manual - Page 16
2 Insert (remove) the microSD card into (from) the card slot. ≥ Insert the microSD card with its terminal side facing down. Push it straight in until it clicks into place as shown in the figure. ≥ Press the center of the microSD card and then pull it straight out. 3 Rotate the terminal cover in the - Panasonic HX-A1M | Basic Owners Manual - Page 17
unit, you need a device equipped with a wireless LAN function. ≥ For the operations and settings of your device such as the smartphone, please read the operating instructions of the device. 17 (ENG) SQT0885 - Panasonic HX-A1M | Basic Owners Manual - Page 18
App" and install it. ≥ The icon will be added to the menu. * The supported OS versions are current as of March 2015 and subject to change. ≥ Use the latest version Help] in the "Image App" menu about how to operate. ≥ The service may not be able to be used properly depending on the type of smartphone - Panasonic HX-A1M | Basic Owners Manual - Page 19
application "Image App" on your smartphone. (l 18) 2 Turn on the Wi-Fi function of your smartphone. ≥ For further details, please read the operating instructions for the smartphone. Setting up a Wi-Fi connection to a smartphone ≥ Check that the Wi-Fi lamp is off. 1 Press and hold the recording - Panasonic HX-A1M | Basic Owners Manual - Page 20
Setting date and time The date and time setting of this unit is synchronized with that of the smartphone. synchronize to adjust the clock, etc. 1 Tap # [Camera setup]. 2 Tap [Date & time]. ≥ When you want to adjust the clock, change the time of the smartphone first, and then synchronize the - Panasonic HX-A1M | Basic Owners Manual - Page 21
Preparation Attaching this unit to a Multi Mount or Tripod Mount You can attach this unit to a Multi Mount or Tripod Mount and perform recording. ≥ When the Tripod Mount is attached to a tripod or similar item, do not hold this unit or adjustment belt to carry the assembled items. ≥ It may not be - Panasonic HX-A1M | Basic Owners Manual - Page 22
4 Fasten the Multi Mount securely by aligning the two fasteners to one another. ≥ Fasten securely to prevent the Multi Mount from falling off. ≥ Dust, etc. adhering to the hook and loop fastener will weaken the adhesion. Before attaching it, check if dust, lint, etc. is adhering. 5 Attach this unit - Panasonic HX-A1M | Basic Owners Manual - Page 23
4 Attach this unit to the Multi Mount as shown in the figure. Attaching this unit to the Multi Mount ≥ Before attaching this unit, fasten the Multi Mount securely with the band and the hook and loop fastener. 1 While holding the tightening nut A, tighten the adjustment knob B by rotating it towards - Panasonic HX-A1M | Basic Owners Manual - Page 24
5 While holding the tightening nut A, loosen the adjustment knob B by rotating it towards UNLOCK to adjust the direction of this unit. 6 While holding the tightening nut A, rotate the adjustment knob B by rotating it towards LOCK until this unit is fastened securely. Removing this unit from the - Panasonic HX-A1M | Basic Owners Manual - Page 25
Attaching this unit to the Tripod Mount 1 While holding D, loosen the adjustment belt B until this unit can be passed through it by rotating the tightening nut C towards UNLOCK. 2 Pass this unit through the adjustment belt B so that this unit is in the position shown in the figure. UNLOCK LOCK - Panasonic HX-A1M | Basic Owners Manual - Page 26
the Multi Mount or Tripod Mount (l 21) and check the image on the live view screen. ≥ You can use [Shooting guidelines] as a guide for checking the balance of a composition. Example of the screen display: 1080/30p xxxxxxxxxx WIDE 10:30 1 Live view ≥ Displays an image - Panasonic HX-A1M | Basic Owners Manual - Page 27
red and recording will start. If you press the recording start/stop button again, the recording will stop. A Access lamp Please refer to the operating instructions (PDF format) for details. 27 (ENG) SQT0885 - Panasonic HX-A1M | Basic Owners Manual - Page 28
Basic Playback Motion pictures or still pictures stored in this unit are played back with the smartphone. ≥ For more information, refer to the [Help] in the "Image App" menu. Preparation: Connect this unit with the smartphone and start Image App. (l 19) Example of the motion picture playback - Panasonic HX-A1M | Basic Owners Manual - Page 29
Others Troubleshooting ∫ It is not a malfunction in following cases The lens fogs up. ≥ This is due to condensation. It is not a malfunction. Please refer to page 8. Problem This unit cannot be turned it off. Please refer to the operating instructions (PDF format) for details. 29 (ENG) SQT0885 - Panasonic HX-A1M | Basic Owners Manual - Page 30
(l 20) first and remove the built-in battery from this unit. Please refer to page 31 about how to remove the battery. Thank you for supporting our battery recycling efforts. ≥ Please make sure that the battery is disposed of at an officially assigned location, if there is one in your country - Panasonic HX-A1M | Basic Owners Manual - Page 31
unit. This figure describes the disposal of this unit, it is not instruction for repair. If disassembled, repair is not possible. ≥ Disassemble after runs out. ≥ If it cannot be removed smoothly, contact Panasonic's Service center. ≥ Keep disassembled parts out of reach of children. 1 Remove - Panasonic HX-A1M | Basic Owners Manual - Page 32
still picture and number of recordable pictures, refer to the operating instructions (PDF format). Recording media: microSD card (1 GB/2 GB), micro-B Reader function microSD card; Read only (No copyright protection support) Web camera function Battery charging function Dimensions: 26.0 mm (W) - Panasonic HX-A1M | Basic Owners Manual - Page 33
Inc., registered in the U.S. and other countries. ≥ App Store is a service mark of Apple Inc. ≥ Android and Google Play are trademarks or registered trademarks Other names of systems and products mentioned in these instructions are usually the registered trademarks or trademarks of the manufacturers - Panasonic HX-A1M | Basic Owners Manual - Page 34
This product incorporates the following software: (1) the software developed independently by or for Panasonic Corporation, (2) the software owned by third party and licensed to Panasonic Corporation, (3) open source software The software categorized as (3) is distributed in the hope that it will be - Panasonic HX-A1M | Basic Owners Manual - Page 35
Others Optional accessories Some optional accessories may not be available in some countries. Accessory No. VW-MKA1 Figure Description Multi Mount VW-MKA100 VW-TMA1 VW-CTA1 Twin Mount Tripod Mount* VW-CTA100 VW-SCA100 Suction Cup Mount* VW-WJA100 RP-CMC10 Wind Jammer Video Camera Mount ( - Panasonic HX-A1M | Basic Owners Manual - Page 36
Accessory No. VW-CLA100 VW-HMA1 VW-BTA1 Figure Description Clip Mount Head Mount Extended Battery VW-SAA1 VW-MBA100 Strap Adaptor Multi Belt NOTE: Accessories and/or model numbers may vary by country. Please consult your local dealer. Product numbers correct as of March. 2015. These may be - Panasonic HX-A1M | Basic Owners Manual - Page 37
Accessory Order Form (For USA Customers) Please photocopy this form when placing an order. 1. Model # 2. Items Ordered Accessory # Description Price Each Quantity Total Price Shipping & Handling Subtotal Your State & Local Sales Tax 3. Method of payment (check one) Total American - Panasonic HX-A1M | Basic Owners Manual - Page 38
as is". Mail-In Service--Online Repair Request Online Repair Request To submit a new repair request and for quick repair status visit our Web Site at www.panasonic.com/support. When shipping the unit, carefully pack, include all supplied accessories listed in the Owner's Manual, and send it prepaid - Panasonic HX-A1M | Basic Owners Manual - Page 39
with this product develops during or after the warranty period, you may contact your dealer or Service Center. If the problem is not handled to your satisfaction, then write to: Consumer Affairs Department Panasonic Corporation of North America 661 Independence Pkwy Chesapeake, VA 23320 PARTS - Panasonic HX-A1M | Basic Owners Manual - Page 40
may have other rights which vary depending on your province or territory. WARRANTY SERVICE For product operation, repairs and information assistance, please visit our Support page: www.panasonic.ca/english/support IF YOU SHIP THE PRODUCT TO A SERVICENTRE Carefully pack and send prepaid, adequately - Panasonic HX-A1M | Basic Owners Manual - Page 41
-PAN(0-800-00726) 0800-333-PANA (0800-333-7262) 0810-321-PANA (0810-321-7262) 0800-11-PANA (0800-11-7262) 809-200-8000 Mexico Service To obtain information in the Republic of Mexico contact us at: email: [email protected] Or you may contact us in the next - Panasonic HX-A1M | Basic Owners Manual - Page 42
Panasonic Corporation Web site: http://www.panasonic.com Panasonic Corporation of North America Two Riverfront Plaza, Newark, NJ 07102-5490 http://www.panasonic.com Panasonic Canada Inc. 5770 Ambler Drive, Mississauga, Ontario, L4W 2T3 www.panasonic.com © Panasonic Corporation 2015 Printed in China
-
 1
1 -
 2
2 -
 3
3 -
 4
4 -
 5
5 -
 6
6 -
 7
7 -
8
-
9
-
10
-
11
-
12
-
13
-
14
-
15
-
16
-
17
-
18
-
19
-
20
-
21
-
22
-
23
-
24
-
25
-
26
-
27
-
28
-
29
-
30
-
31
-
32
-
33
-
34
-
35
-
36
-
37
-
38
-
39
-
40
-
41
-
42
 |
 |
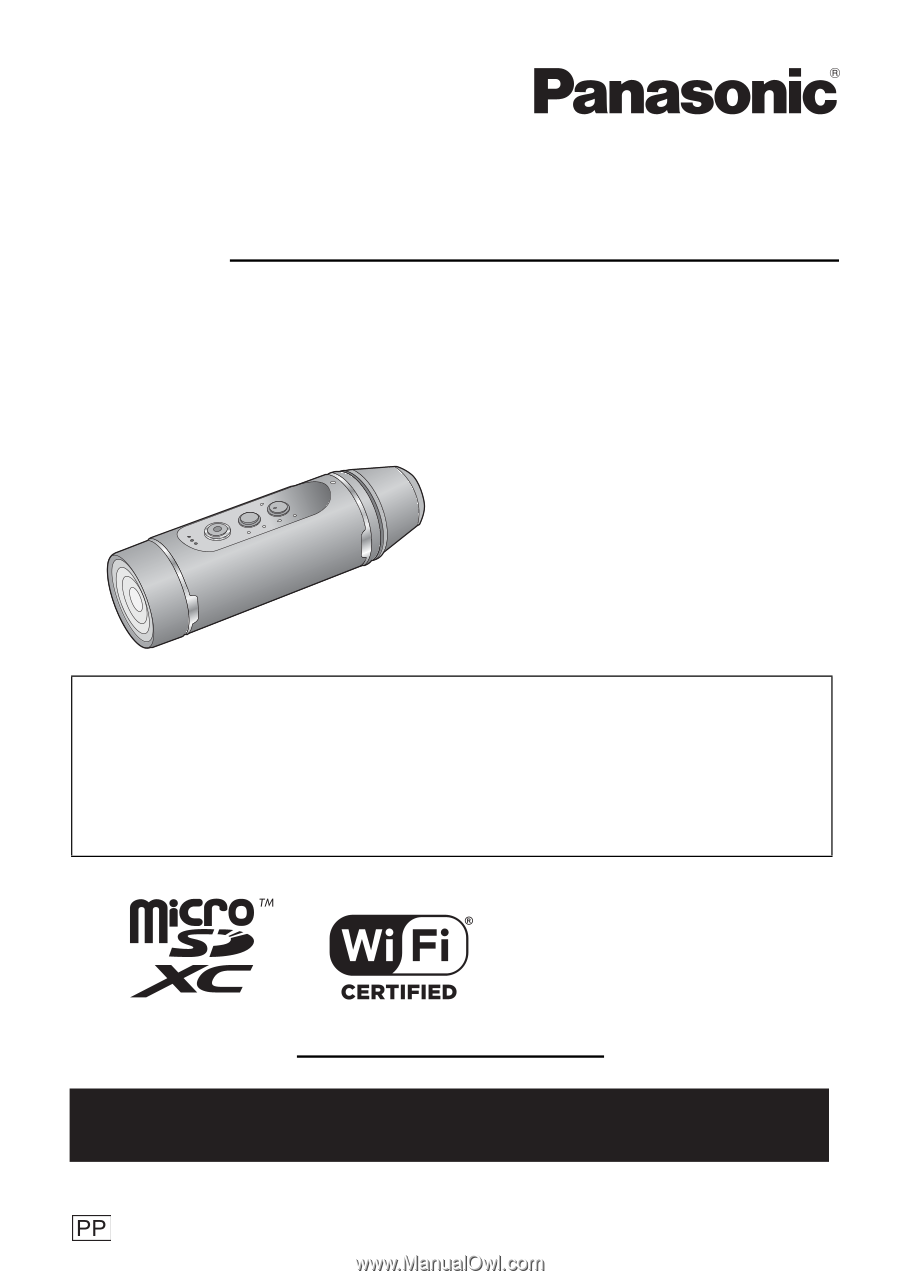
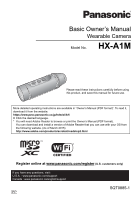
Basic Owner’s Manual
Wearable Camera
Model No.
HX-A1M
More detailed operating instructions are available in “Owner’s Manual (PDF format)”. To read it,
download it from the website.
≥
Click the desired language.
*
You will need Adobe Reader to browse or print the Owner’s Manual (PDF format).
You can download and install a version of Adobe Reader that you can use with your OS from
the following website. (As of March 2015)
SQT0885-1
Please read these instructions carefully before using
this product, and save this manual for future use.
Register online at www.panasonic.com/register
(U.S. customers only)
If you have any questions, visit :
U.S.A. : www.panasonic.com/support
Canada : www.panasonic.ca/english/support