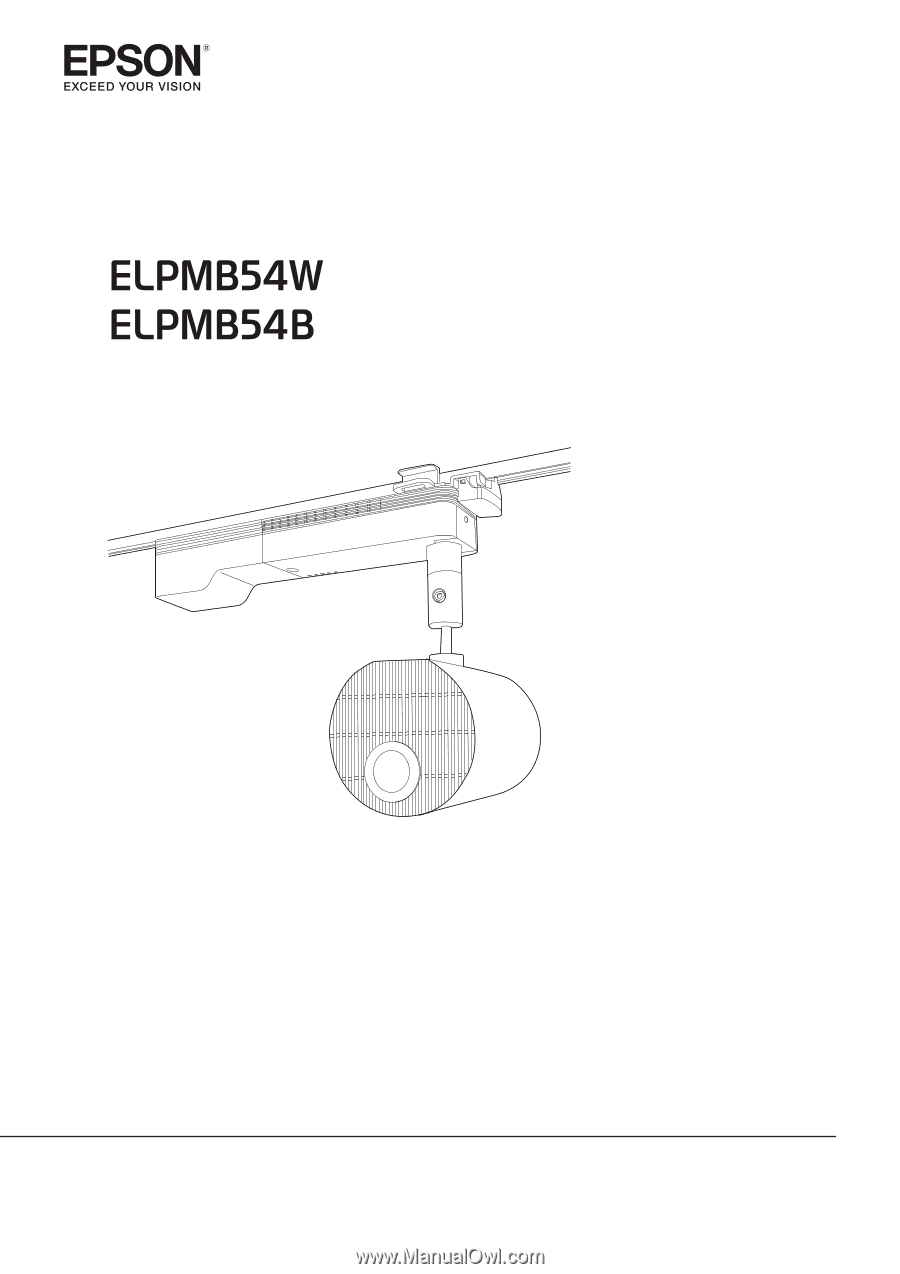
Epson LightScene EV-100 Installation Manual for Lighting Track Mounts ELPMB54W
Epson LightScene EV-100 Manual
 |
View all Epson LightScene EV-100 manuals
Add to My Manuals
Save this manual to your list of manuals |
Epson LightScene EV-100 manual content summary:
- Epson LightScene EV-100 | Installation Manual for Lighting Track Mounts ELPMB54W - Page 1
Installation Manual - Epson LightScene EV-100 | Installation Manual for Lighting Track Mounts ELPMB54W - Page 2
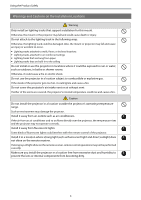
out correctly, the mount or the projector could fall causing injury or accident to occur. Follow the instructions in this guide when performing installation work. If the instructions are not followed, the mount or the projector could fall causing injury or accident to occur. Installation should - Epson LightScene EV-100 | Installation Manual for Lighting Track Mounts ELPMB54W - Page 3
. Do not attach anything to this mount except for a projector from EPSON. Otherwise, the mount may falls and could cause death or personal injury not install in the following situations. Contact your local dealer or Epson Service Call Center. • If the product has been dropped or damaged before or - Epson LightScene EV-100 | Installation Manual for Lighting Track Mounts ELPMB54W - Page 4
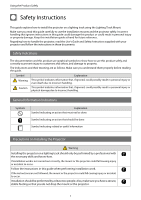
Using the Product Safely Warnings and Cautions on the Installation Locations Warning Only install on lighting tracks that support installation for this mount. Otherwise, the mount or the projector may fall and could cause death or injury. Do not attach to the lighting track - Epson LightScene EV-100 | Installation Manual for Lighting Track Mounts ELPMB54W - Page 5
Contents Using the Product Safely Safety Instructions 1 Safety Indications 1 General Information Indications 1 Precautions on Installing the Projector 1 Warnings and Cautions on the Installation Locations 3 Preparing the Projector Package Contents 5 Mountable Lighting Tracks 6 - Epson LightScene EV-100 | Installation Manual for Lighting Track Mounts ELPMB54W - Page 6
Preparing the Projector Package Contents Check that you have all of the following accessories before you start work. Stopper unit Stopper cover Plate unit Spacers x10 Rotating unit Power adapter Power adapter cover Shape Name M4 x 10 mm cross recessed head screw (with washer) Quan- - Epson LightScene EV-100 | Installation Manual for Lighting Track Mounts ELPMB54W - Page 7
Preparing the Projector Mountable Lighting Tracks Check the model number of the lighting track you want to install on before performing installation. You can attach the mount to the following types of lighting track. Manufacturer Halo Juno Global trac tek Model Number • TEK441 • TEK442 • TEK443 - Epson LightScene EV-100 | Installation Manual for Lighting Track Mounts ELPMB54W - Page 8
Installation Procedure Preparing the Projector Adjust the orientation of the projector to make installing easier. a Place the projector on a flat surface on a soft cloth. b Loosen the screw for the ball joint with a hexagonal wrench supplied with the projector. c Change the projector's orientation. - Epson LightScene EV-100 | Installation Manual for Lighting Track Mounts ELPMB54W - Page 9
Installation Procedure Attaching the Mount to the Projector Attaching the Rotating Unit a Place the projector on your workbench. Place the projector on a soft cloth on a workbench (330 mm (13 inches) high). b Remove the M4 x 10 mm screw securing the lever of the rotating unit. c Rotate the lever 90 - Epson LightScene EV-100 | Installation Manual for Lighting Track Mounts ELPMB54W - Page 10
unit. e Secure the rotating unit to the projector using the M4 x 10 mm screws supplied (x3). Attaching the Plate Unit c The plate unit includes a support bracket ( ) that braces against the ceiling to minimize projector vibration. If your ceiling is not strong enough for direct contact, remove the - Epson LightScene EV-100 | Installation Manual for Lighting Track Mounts ELPMB54W - Page 11
Installation Procedure a Place the plate unit on the projector. Align the pins (2 points) on the projector with the holes on the plate unit. b Secure the plate unit to the projector using the M4 x 10 mm screws supplied (x4). 10 - Epson LightScene EV-100 | Installation Manual for Lighting Track Mounts ELPMB54W - Page 12
Installation Procedure Attaching the Projector to the Lighting Track Warning • Make sure you turn off the lighting track before performing installation work. Otherwise an electric shock could occur. • Make sure the lighting track is firmly secured. Otherwise, the mount or projector may fall and - Epson LightScene EV-100 | Installation Manual for Lighting Track Mounts ELPMB54W - Page 13
Unit to the Stopper Unit a Attach the hook on the plate unit to the stopper unit. c If there is a gap between the ceiling and the support mount, attach the spacer supplied to the support bracket. If the gap is wide, insert multiple spacers. 12 - Epson LightScene EV-100 | Installation Manual for Lighting Track Mounts ELPMB54W - Page 14
Installation Procedure b Insert the protruding section on the rotating unit into the groove on the lighting track. c Rotate the lever of the rotating unit 90 degrees clockwise. Rotate so that the screw hole positions overlap as shown in the following image. d Secure the lever for the rotating unit - Epson LightScene EV-100 | Installation Manual for Lighting Track Mounts ELPMB54W - Page 15
Installation Procedure f Attach the stopper cover to the stopper unit. Press in the stopper unit tabs until they snap into the stopper cover. 14 - Epson LightScene EV-100 | Installation Manual for Lighting Track Mounts ELPMB54W - Page 16
the power adapter to the lighting track. c Connect the necessary cables and the SD card to the projector's interface. Check the Projector's User's Guide for information on the connection ports. d Attach the power adapter cover supplied with the mount to the projector. Caution Do not use the power - Epson LightScene EV-100 | Installation Manual for Lighting Track Mounts ELPMB54W - Page 17
Installation Procedure Installing the Safety Wire Install the safety wire supplied to the projector to prevent the projector from falling. Caution Attach the wire firmly so that it cannot come loose. a Attach the wire hook mount supplied with the projector to the ceiling. c • When installing the - Epson LightScene EV-100 | Installation Manual for Lighting Track Mounts ELPMB54W - Page 18
Installation Procedure d Attach the carabiner for the safety wire to the wire hook mount attached to the ceiling. 17 - Epson LightScene EV-100 | Installation Manual for Lighting Track Mounts ELPMB54W - Page 19
0.7 kg (1.5 lb) Approx. 5.9 kg (13 lb) ELPMB54W: White ELPMB54B: Black Figures of Installation Dimensions The following provides the dimensions for the EV-100/105. 541.7 / 21.3 [Unit: mm/inches] 150 / 5.9 Width of top of projector Vertical width of top of projector 45.8 / 1.8 20 / 0.8 440.5 / 17 - Epson LightScene EV-100 | Installation Manual for Lighting Track Mounts ELPMB54W - Page 20
Appendix Height from ceiling to top of projector Height from ceiling to bottom of projector ©SEIKO EPSON CORPORATION 2018. All rights reserved. 19
-
 1
1 -
 2
2 -
 3
3 -
 4
4 -
 5
5 -
 6
6 -
 7
7 -
8
-
9
-
10
-
11
-
12
-
13
-
14
-
15
-
16
-
17
-
18
-
19
-
20
 |
 |
Installation Manual