2012 Yamaha Motorsports RS Vector L-TX Owners Manual - Page 88
2012 Yamaha Motorsports RS Vector L-TX Manual

Page 88 highlights
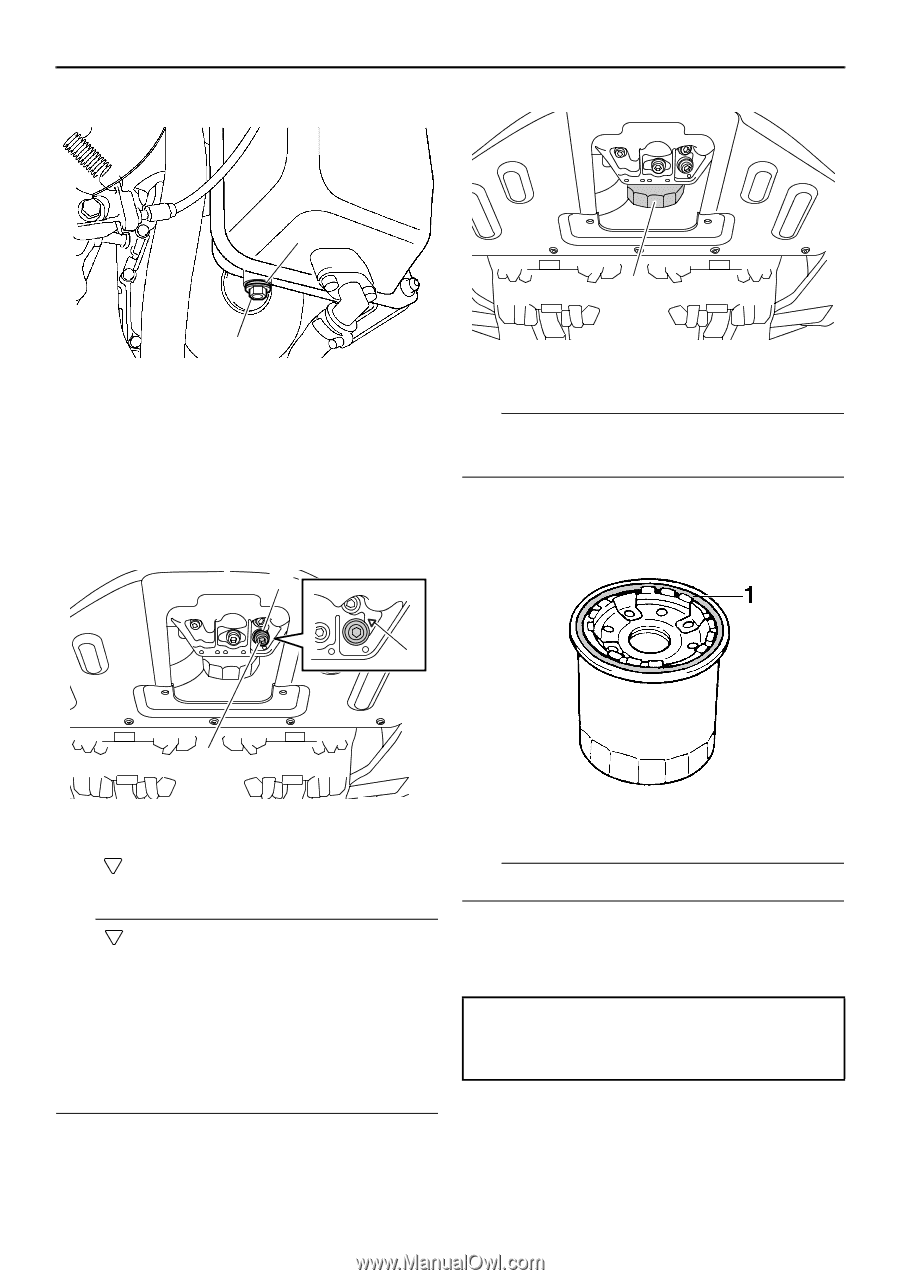
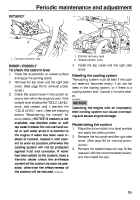
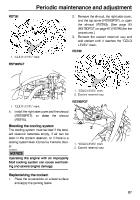
Periodic maintenance and adjustment RST90 2 1 1 1. Engine oil drain bolt (oil tank) 2. Gasket 1. Oil filter cartridge TIP An oil filter wrench is available at a Yamaha dealer. 12. Apply a thin coat of engine oil to the Oring of the new oil filter cartridge. 9. Place an oil pan under the engine to collect the used oil. 10. Remove the engine oil drain bolt and its gasket to drain the oil from the crankcase. 2 3 1 1. Engine oil drain bolt (crankcase) 2. Gasket 3. " " mark 1. O-ring TIP Make sure that the O-ring is properly seated. 13. Install the new oil filter cartridge with an oil filter wrench, and then tighten it to the specified torque. Tightening torque: Oil filter cartridge: 17 Nm (1.7 m·kgf, 12 ft·lbf) 14. Install the engine oil drain bolts and their new gasket, and then tighten the bolts to the specified torques. TIP G G G A " " mark is stamped on the crankcase near the engine oil drain bolt for easy identification. Dispose of used oil according to local regulations. Skip steps 11-13 if the oil filter cartridge is not being replaced. 11. Remove the oil filter cartridge with an oil filter wrench. 82
-
 1
1 -
2
-
3
-
4
-
5
-
6
-
7
-
8
-
9
-
10
-
11
-
12
-
13
-
14
-
15
-
16
-
17
-
18
-
19
-
20
-
21
-
22
-
23
-
24
-
25
-
26
-
27
-
28
-
29
-
30
-
31
-
32
-
33
-
34
-
35
-
36
-
37
-
38
-
39
-
40
-
41
-
42
-
43
-
44
-
45
-
46
-
47
-
48
-
49
-
50
-
51
-
52
-
53
-
54
-
55
-
56
-
57
-
58
-
59
-
60
-
61
-
62
-
63
-
64
-
65
-
66
-
67
-
68
-
69
-
70
-
71
-
72
-
73
-
74
-
75
-
76
-
77
-
78
-
79
-
80
-
81
-
82
-
 83
83 -
 84
84 -
 85
85 -
 86
86 -
 87
87 -
 88
88 -
 89
89 -
 90
90 -
 91
91 -
 92
92 -
 93
93 -
94
-
95
-
96
-
97
-
98
-
99
-
100
-
101
-
102
-
103
-
104
-
105
-
106
-
107
-
108
-
109
-
110
-
111
-
112
-
113
-
114
-
115
-
116
-
117
-
118
-
119
-
120
-
121
-
122
-
123
-
124
-
125
-
126
-
127
-
128
-
129
-
130
-
131
-
132
-
133
-
134
-
135
-
136
-
137
-
138
-
139
-
140
-
141
-
142
 |
 |