Hitachi CP-X4021N Operating Guide - Page 20
Video, Computer In1, Computer In2, Computer, S-video, Component, My Source / Doc. Camera
 |
View all Hitachi CP-X4021N manuals
Add to My Manuals
Save this manual to your list of manuals |
Page 20 highlights
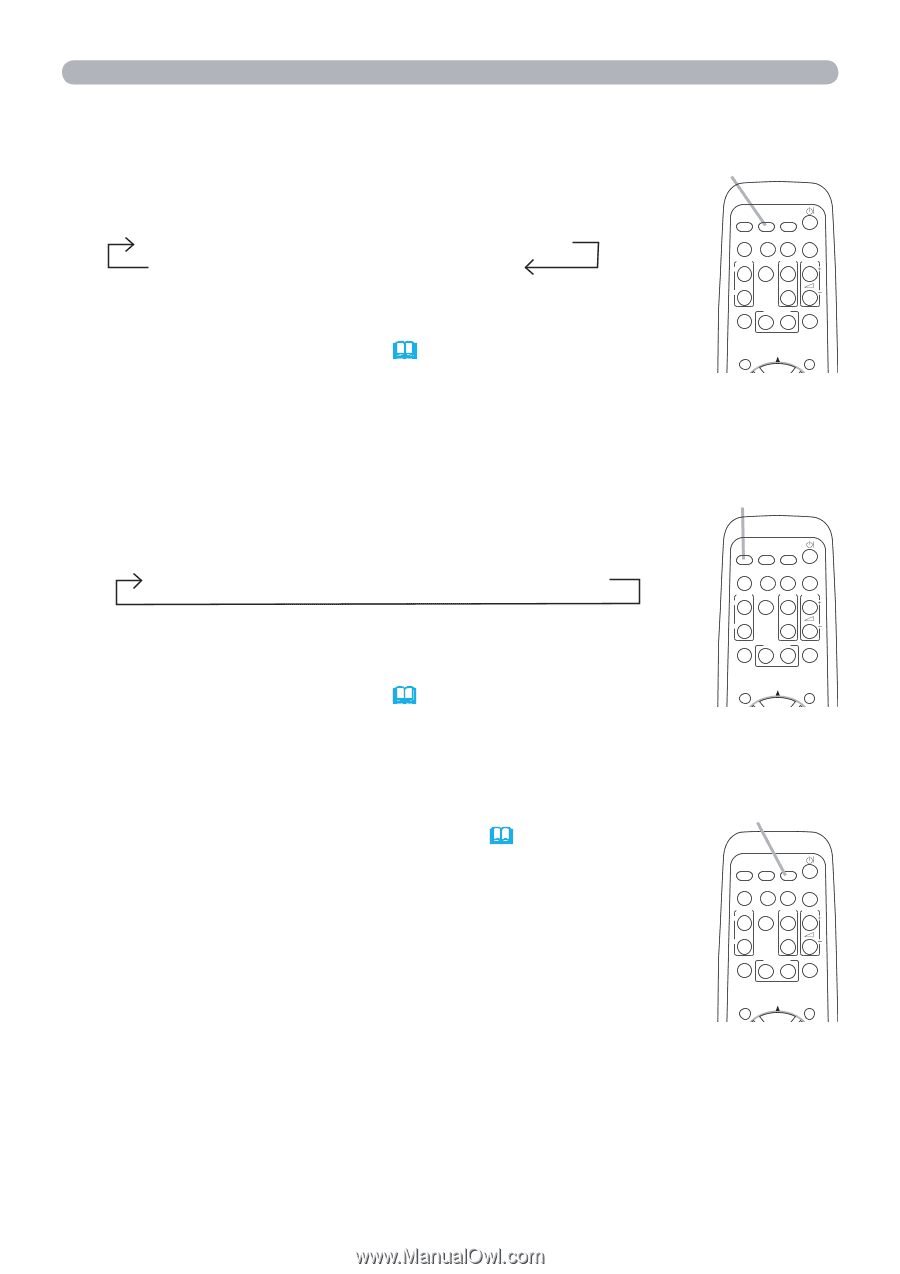
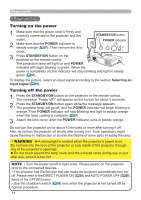
Operating Selecting an input signal (continued) 1. Press COMPUTER button on the remote control. COMPUTER button Each time you press the button, the projector switches its input port from the current port as below. MY SOURCE/ VIDEO COMPUTER DOC.CAMERA COMPUTER IN1 COMPUTER IN2 LAN ASPECT AUTO SEARCH BLANK USB TYPE B USB TYPE A MAGNIFY FREEZE PAGE VOLUME UP ON 㧗 ● While ON is selected for AUTO SEARCH item in OPTION menu, the projector will keep checking every port sequentially DOWN OFF KEYSTONE MY BUTTON MUTE 1 2 till an input signal is detected ( 54). If COMPUTER button is POSITION MENU pressed when VIDEO, S-VIDEO, COMPONENT or HDMI port is selected, the projector will check COMPUTER IN1 port first. ● It may take several seconds to project the images from the USB TYPE B port. 1. Press VIDEO button on the remote control. Each time you press the button, the projector switches its input port from the current port as below. HDMI COMPONENT S-VIDEO VIDEO ● While ON is selected for AUTO SEARCH item in OPTION menu, the projector will keep checking every port sequentially till an input signal is detected ( 54). If VIDEO button is pressed when COMPUTER IN1 or COMPUTER IN2 port is selected, the projector will check HDMI port first. VIDEO button MY SOURCE/ VIDEO COMPUTER DOC.CAMERA ASPECT AUTO SEARCH BLANK MAGNIFY FREEZE PAGE VOLUME UP ON 㧗 DOWN OFF KEYSTONE MY BUTTON MUTE 1 2 POSITION MENU 1. Press the MY SOURCE / DOC. CAMERA button on the remote control. The input signal will be changed into the signal you set as MY SOURCE ( 58). MY SOURCE / DOC. CAMERA button ● This function also can use for document camera. Select the input port that connected the document camera. MY SOURCE/ VIDEO COMPUTER DOC.CAMERA ASPECT AUTO SEARCH BLANK MAGNIFY FREEZE PAGE VOLUME UP ON 㧗 DOWN OFF KEYSTONE MY BUTTON MUTE 1 2 POSITION MENU 20
-
 1
1 -
2
-
3
-
4
-
5
-
6
-
7
-
8
-
9
-
10
-
11
-
12
-
13
-
14
-
 15
15 -
 16
16 -
 17
17 -
 18
18 -
 19
19 -
 20
20 -
 21
21 -
 22
22 -
 23
23 -
 24
24 -
 25
25 -
26
-
27
-
28
-
29
-
30
-
31
-
32
-
33
-
34
-
35
-
36
-
37
-
38
-
39
-
40
-
41
-
42
-
43
-
44
-
45
-
46
-
47
-
48
-
49
-
50
-
51
-
52
-
53
-
54
-
55
-
56
-
57
-
58
-
59
-
60
-
61
-
62
-
63
-
64
-
65
-
66
-
67
-
68
-
69
-
70
-
71
-
72
-
73
-
74
-
75
-
76
-
77
-
78
-
79
-
80
-
81
-
82
-
83
-
84
-
85
-
86
-
87
-
88
-
89
-
90
-
91
-
92
-
93
-
94
-
95
-
96
-
97
-
98
-
99
-
100
-
101
-
102
-
103
 |
 |