Epson V11H268220 User's Guide - Page 23
Adjusting the Image Shape, Displaying and Adjusting the Image
 |
UPC - 010343875029
View all Epson V11H268220 manuals
Add to My Manuals
Save this manual to your list of manuals |
Page 23 highlights
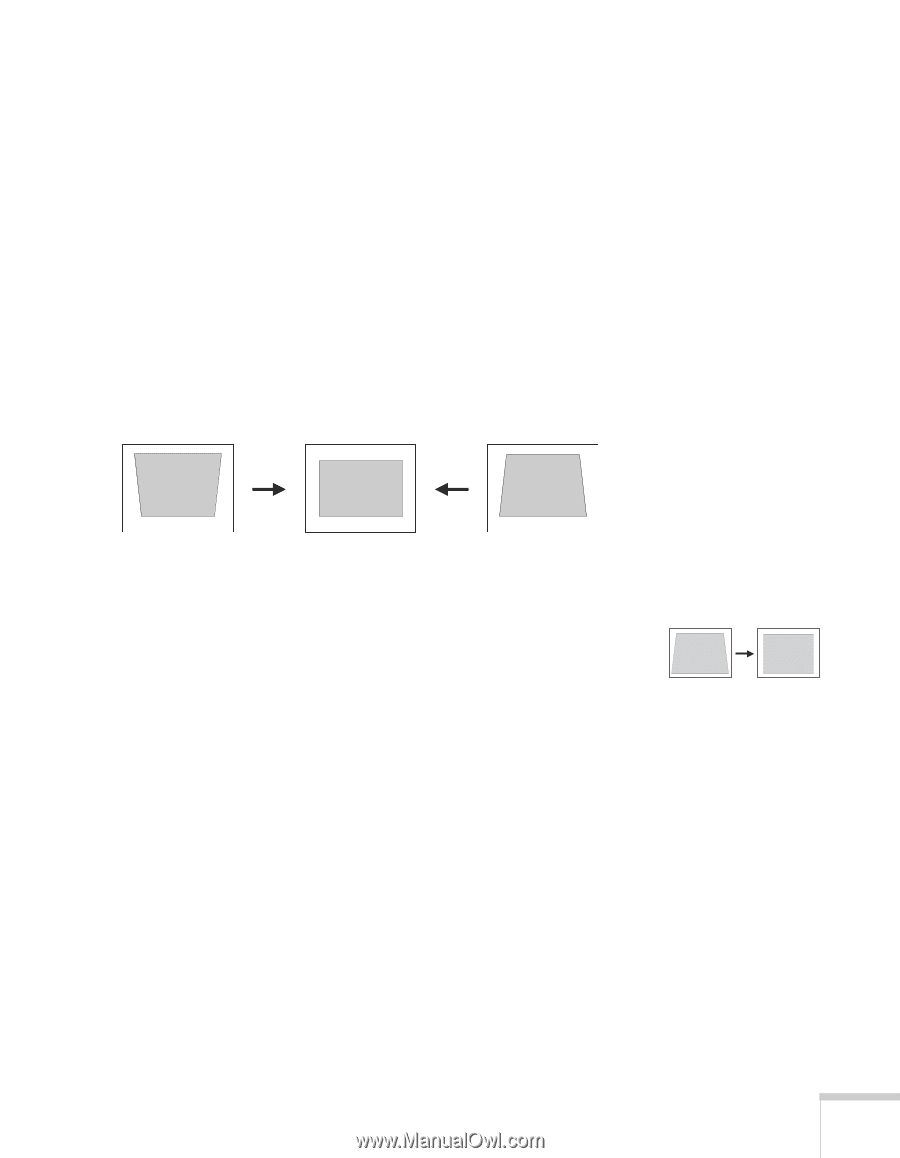
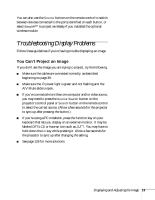
If the image still isn't large enough, you may need to move the projector farther away from the screen. You can also use the E-Zoom buttons on the remote control to zoom in on a portion of the image. See page 31 for instructions. Adjusting the Image Shape In most cases, you can maintain a square or rectangular image by placing the projector directly in front of the center of the screen with the base of the lens level with the bottom of the screen. Even if the projector is slightly tilted (within a range of 30° up or down), the projector has an automatic keystone correction function that detects and corrects vertical keystone distortion. Projector tilted up Corrected image Projector tilted down It takes about one second after projection starts for the image to be corrected. During this time, a vertical keystone correction gauge appears on the screen. If your image is still distorted, you can correct it using the Keystone buttons on the projector's control panel or the projector's Setting menu. Keystone correction Displaying and Adjusting the Image 23
-
 1
1 -
2
-
3
-
4
-
5
-
6
-
7
-
8
-
9
-
10
-
11
-
12
-
13
-
14
-
15
-
16
-
17
-
 18
18 -
 19
19 -
 20
20 -
 21
21 -
 22
22 -
 23
23 -
 24
24 -
 25
25 -
 26
26 -
 27
27 -
 28
28 -
29
-
30
-
31
-
32
-
33
-
34
-
35
-
36
-
37
-
38
-
39
-
40
-
41
-
42
-
43
-
44
-
45
-
46
-
47
-
48
-
49
-
50
-
51
-
52
-
53
-
54
-
55
-
56
-
57
-
58
-
59
-
60
-
61
-
62
-
63
-
64
-
65
-
66
-
67
-
68
-
69
-
70
-
71
-
72
-
73
-
74
-
75
-
76
-
77
-
78
-
79
-
80
-
81
-
82
-
83
-
84
-
85
-
86
-
87
-
88
-
89
-
90
-
91
-
92
-
93
-
94
-
95
-
96
-
97
-
98
-
99
-
100
-
101
-
102
-
103
-
104
-
105
-
106
-
107
-
108
-
109
-
110
-
111
-
112
-
113
-
114
-
115
-
116
-
117
-
118
-
119
-
120
-
121
-
122
-
123
-
124
-
125
-
126
-
127
-
128
-
129
-
130
-
131
-
132
-
133
-
134
-
135
-
136
-
137
-
138
-
139
-
140
-
141
-
142
-
143
-
144
-
145
-
146
-
147
-
148
-
149
-
150
-
151
-
152
-
153
-
154
-
155
-
156
-
157
 |
 |