Dell P7524QT Monitor Simplified Service Manual - Page 10
then put the unit on a protective cushion.
 |
View all Dell P7524QT manuals
Add to My Manuals
Save this manual to your list of manuals |
Page 10 highlights
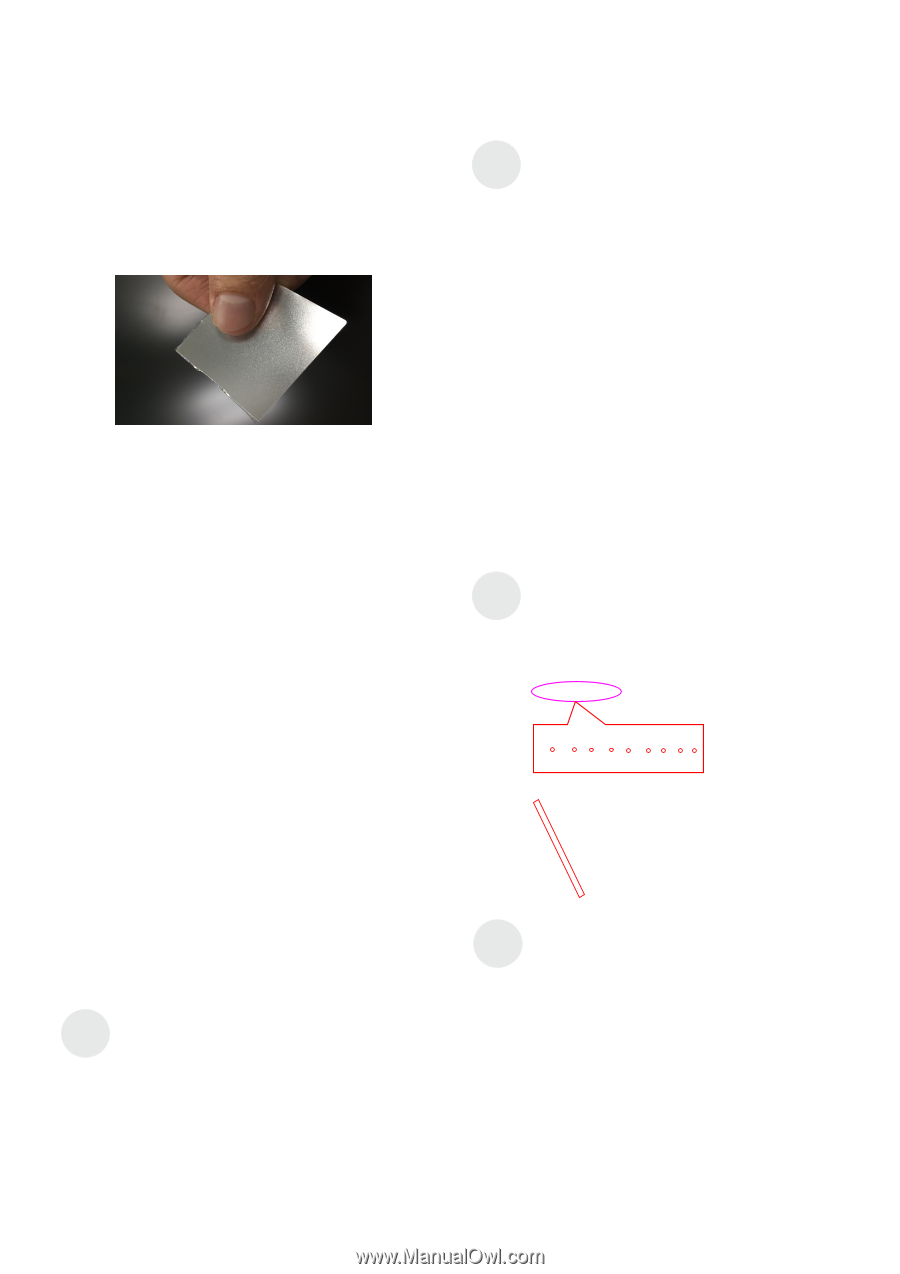
5. Disassembly and Assembly Procedures Use a ED holder fixture to fix the ED holders, then lift S16 up the ED holder unit for removing the ED unit, and then put the unit on a protective cushion. Use a screwdriver to remove 24pcs screws for S17 unlocking the bottom-middle bezel and then remove the bottom-middle bezel.(Torque: 2±0.3kgf) Use a tripper to lift up the unit, then use a screwdriver to remove 10pcs screws for unlocking S15 the ED unit , then use the tripper to put down the unit. (Torque: 3.0±0.3kgf) Remove 1pcs DEBF film, 1pcs Diffuser film, 1pcs S18 LGP, 1pcs Reflector film away from the back bracket.
-
 1
1 -
2
-
3
-
4
-
 5
5 -
 6
6 -
 7
7 -
 8
8 -
 9
9 -
 10
10 -
 11
11 -
 12
12 -
 13
13 -
 14
14 -
 15
15 -
16
-
17
-
18
-
19
-
20
-
21
-
22
-
23
-
24
-
25
-
26
 |
 |
5. Disassembly and Assembly Procedures
S15
S16
S17
S18
Use a tripper to lift up the unit, then use a
screwdriver to remove 10pcs screws for unlocking
the ED unit , then use the tripper to put down the
unit.
(Torque: 3.0
±
0.3kgf)
Use a ED holder fixture to fix the ED holders, then lift
up the ED holder unit for removing the ED unit, and
then put the unit on a protective cushion.
Use a screwdriver to remove 24pcs screws for
unlocking the bottom-middle bezel and then remove
the bottom-middle bezel.
(
Torque: 2
±
0.3kgf
)
Remove 1pcs DEBF film, 1pcs Diffuser film, 1pcs
LGP, 1pcs Reflector film away from the back
bracket.