2008 Yamaha Motorsports Grizzly 350 4x4 Owners Manual - Page 108
2008 Yamaha Motorsports Grizzly 350 4x4 Manual

Page 108 highlights
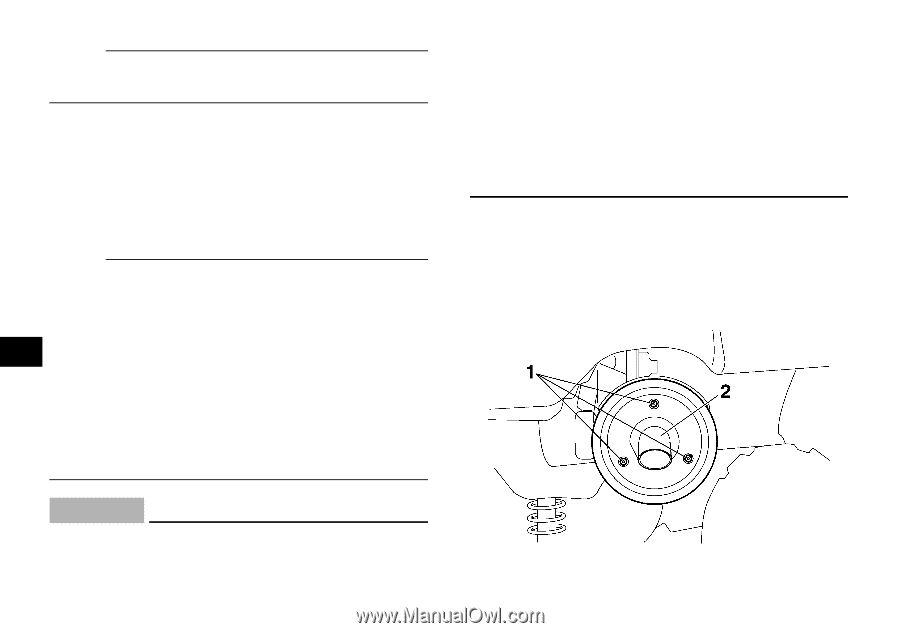
NOTE: The sponge material should be wet but not dripping. 9. Pull the sponge material over the air filter element frame, and then install the lock plate. 10. Insert the air filter element into the air filter case, and then install the air filter case cover by hooking the holders onto the air filter case. 11. Install the seat. NOTE: The air filter element should be cleaned every 20- 40 hours. It should be cleaned and lubricated more often if the ATV is operated in extremely dusty areas. Each time the air filter element maintenance is performed, check the air inlet of the air filter case for obstructions. Check the air filter case rubber joint to the carburetor fittings and the rubber joint manifold fittings for an air-tight seal. Tighten all fittings securely to avoid the possibility of unfiltered air entering the engine. ECB00460 G Never operate the engine with the air filter element removed. This will allow unfiltered air to enter the engine, causing rapid engine wear and possible engine damage. Additionally, operation without the air filter element will affect carburetor jetting with subsequent poor performance and possible engine overheating. EBU23881 Cleaning the spark arrester Be sure the exhaust pipe and muffler are cool before cleaning the spark arrester. 1. Remove the bolts. 8 CAUTION: G Make sure that the air filter element is properly seated in the air filter case. 8-22 1. Bolt 2. Tailpipe
-
 1
1 -
2
-
3
-
4
-
5
-
6
-
7
-
8
-
9
-
10
-
11
-
12
-
13
-
14
-
15
-
16
-
17
-
18
-
19
-
20
-
21
-
22
-
23
-
24
-
25
-
26
-
27
-
28
-
29
-
30
-
31
-
32
-
33
-
34
-
35
-
36
-
37
-
38
-
39
-
40
-
41
-
42
-
43
-
44
-
45
-
46
-
47
-
48
-
49
-
50
-
51
-
52
-
53
-
54
-
55
-
56
-
57
-
58
-
59
-
60
-
61
-
62
-
63
-
64
-
65
-
66
-
67
-
68
-
69
-
70
-
71
-
72
-
73
-
74
-
75
-
76
-
77
-
78
-
79
-
80
-
81
-
82
-
83
-
84
-
85
-
86
-
87
-
88
-
89
-
90
-
91
-
92
-
93
-
94
-
95
-
96
-
97
-
98
-
99
-
100
-
101
-
102
-
 103
103 -
 104
104 -
 105
105 -
 106
106 -
 107
107 -
 108
108 -
 109
109 -
 110
110 -
 111
111 -
 112
112 -
 113
113 -
114
-
115
-
116
-
117
-
118
-
119
-
120
-
121
-
122
-
123
-
124
-
125
-
126
-
127
-
128
-
129
-
130
-
131
-
132
-
133
-
134
-
135
-
136
-
137
-
138
-
139
-
140
-
141
-
142
-
143
-
144
-
145
-
146
-
147
-
148
-
149
-
150
-
151
-
152
-
153
-
154
-
155
-
156
 |
 |