Sharp PN-LC652 Operation Manual - Page 27
CONTENT MENU button, DP DisplayPort
 |
View all Sharp PN-LC652 manuals
Add to My Manuals
Save this manual to your list of manuals |
Page 27 highlights
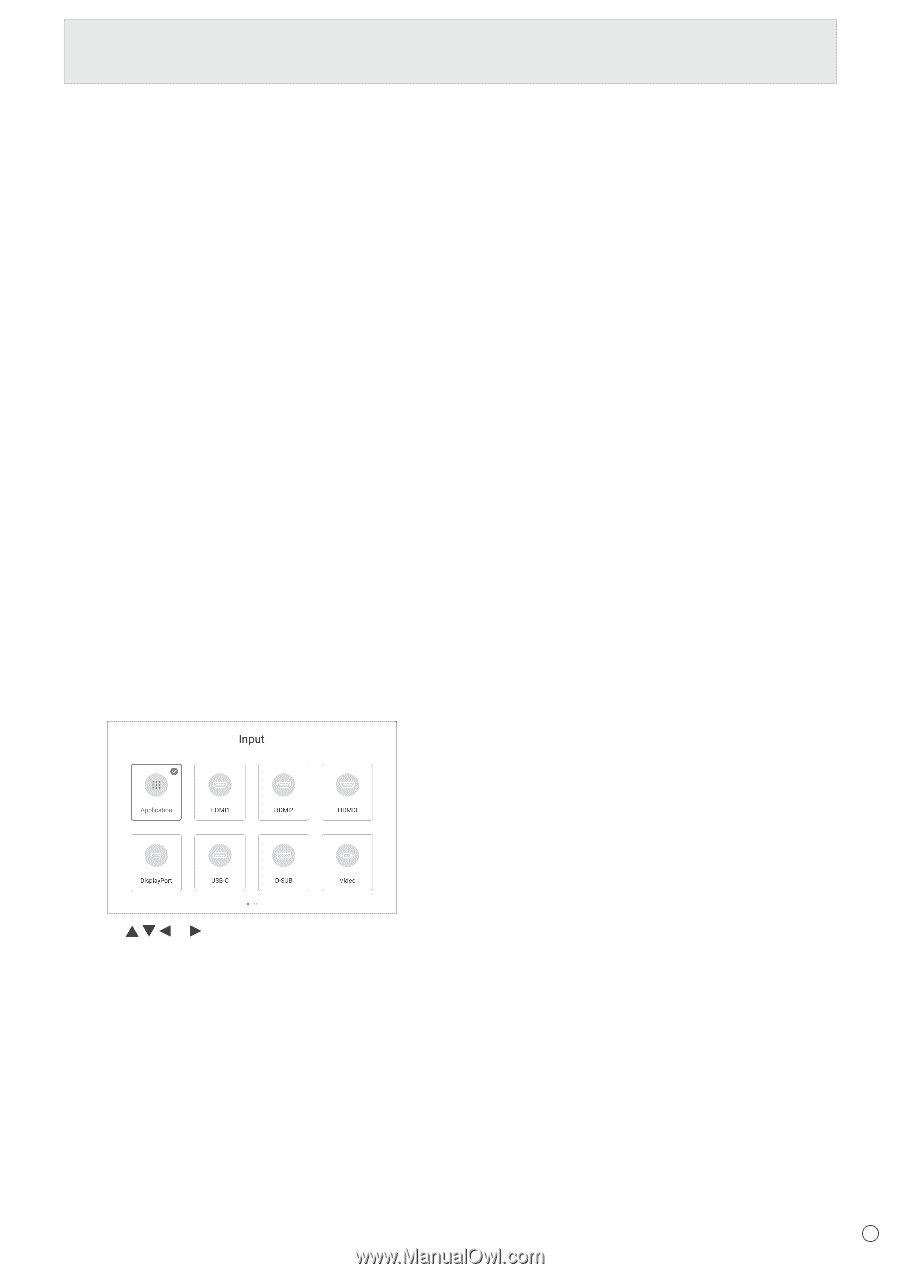
Basic Operation 10. Buttons for playing the files or operating the HDMIconnected device When used for playing the files, the buttons that can be used vary depending on the file that is played. When "HDMI CEC link" is set to on, you can operate devices that support HDMI CEC when the input mode is HDMI. CONTENT MENU button • When input mode is APPLICATION - The home screen of APPLICATION mode appears. • When "HDMI CEC link" is set to on and input mode is HDMI - Operate devices that support HDMI CEC. • When "HDMI CEC link" is set to off and input mode is other than APPLICATION - The input mode changes to APPLICATION. 18. MENU The "Picture" screen of the General menu is displayed. (See page 48.) 19. Cursor These buttons are used to perform operations such as selecting items, changing adjustment values, and moving the cursor. 20. RETURN Returns to the previous screen. 11. ID SET This is not used with this monitor. 12. OPTION Switch the input mode to APPLICATION or OPS. 13. DP (DisplayPort) Switch the input mode to DisplayPort or USB-C. 14. SIZE (Screen size selection) In video input mode (other than APPLICATION), each time you press this button, screen size is changed. (See page 28.) 15. PIP/PbyP This is not used with this monitor. 16. BRIGHT +/- (Brightness adjustment) Press + or - to adjust the brightness. 17. INPUT (Input mode selection) The menu is displayed. Press the or button to select the input mode, and press the ENTER button to enter. • For the input modes that can be selected, see "About the home screen of APPLICATION mode" (see page 23). 27 E
-
 1
1 -
2
-
3
-
4
-
5
-
6
-
7
-
8
-
9
-
10
-
11
-
12
-
13
-
14
-
15
-
16
-
17
-
18
-
19
-
20
-
21
-
 22
22 -
 23
23 -
 24
24 -
 25
25 -
 26
26 -
 27
27 -
 28
28 -
 29
29 -
 30
30 -
 31
31 -
 32
32 -
33
-
34
-
35
-
36
-
37
-
38
-
39
-
40
-
41
-
42
-
43
-
44
-
45
-
46
-
47
-
48
-
49
-
50
-
51
-
52
-
53
-
54
-
55
-
56
-
57
-
58
-
59
-
60
-
61
-
62
-
63
 |
 |