Epson XP-6000 Start Here
Epson XP-6000 Manual
 |
View all Epson XP-6000 manuals
Add to My Manuals
Save this manual to your list of manuals |
Epson XP-6000 manual content summary:
- Epson XP-6000 | Start Here - Page 1
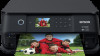
XP-6000 Small-in-One® Printer Start Here Read these instructions before using your product. Note for Spanish speakers/Nota para hispanohablantes: Para obtener instrucciones de configuración en español, consulte la Guía de instalación en www.epson.com/support/xp6000sp (requiere una conexión a - Epson XP-6000 | Start Here - Page 2
designed for use with Epson® cartridges only, not third-party cartridges or ink. • The cartridges included with the printer are designed for printer set up and not for resale. After some ink is used for charging, the rest is available for printing. 8 Follow the on-screen instructions to adjust the - Epson XP-6000 | Start Here - Page 3
your printer and device to the same network and tap the menu icon to select the print option. • Print remotely with Epson Connect™ and Google Cloud Print™. See your online User's Guide for instructions or learn more at www.epson.com/connect (U.S.) or www.epson.ca/connect (Canada). Any problems - Epson XP-6000 | Start Here - Page 4
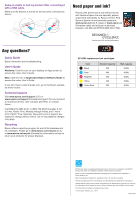
a recycling program for end of life hardware and ink cartridges. Please go to www.epson.com/recycle (U.S.) or www.epson.ca/recycle (Canada) for information on how to return your products for proper disposal. XP-6000 replacement ink cartridges Color Black Cyan Magenta Yellow Photo Black Standard
-
 1
1 -
 2
2 -
 3
3 -
 4
4
 |
 |
Start Here
Read these instructions before using your product.
Note for Spanish speakers/Nota para hispanohablantes:
Para
obtener instrucciones de configuración en español, consulte la
Guía
de instalación
en
www.epson.com/support/xp6000sp
(requiere
una
conexión a Internet).
1
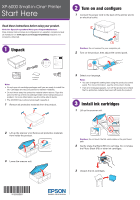
Unpack
Protective
material
Note:
• Do not open ink cartridge packages until you are ready to install the
ink. Cartridges are vacuum packed to maintain reliability.
• Do not throw away the protective material shown above. Tape this
piece to the top of the ink cartridge holder when transporting your
product. For more information, see the online
User’s Guide
.
• The CD/DVD tray is stored underneath cassette 2.
1
Remove all protective materials from the product.
2
Lift up the scanner unit. Remove all protective materials
from inside the product.
3
Lower the scanner unit.
2
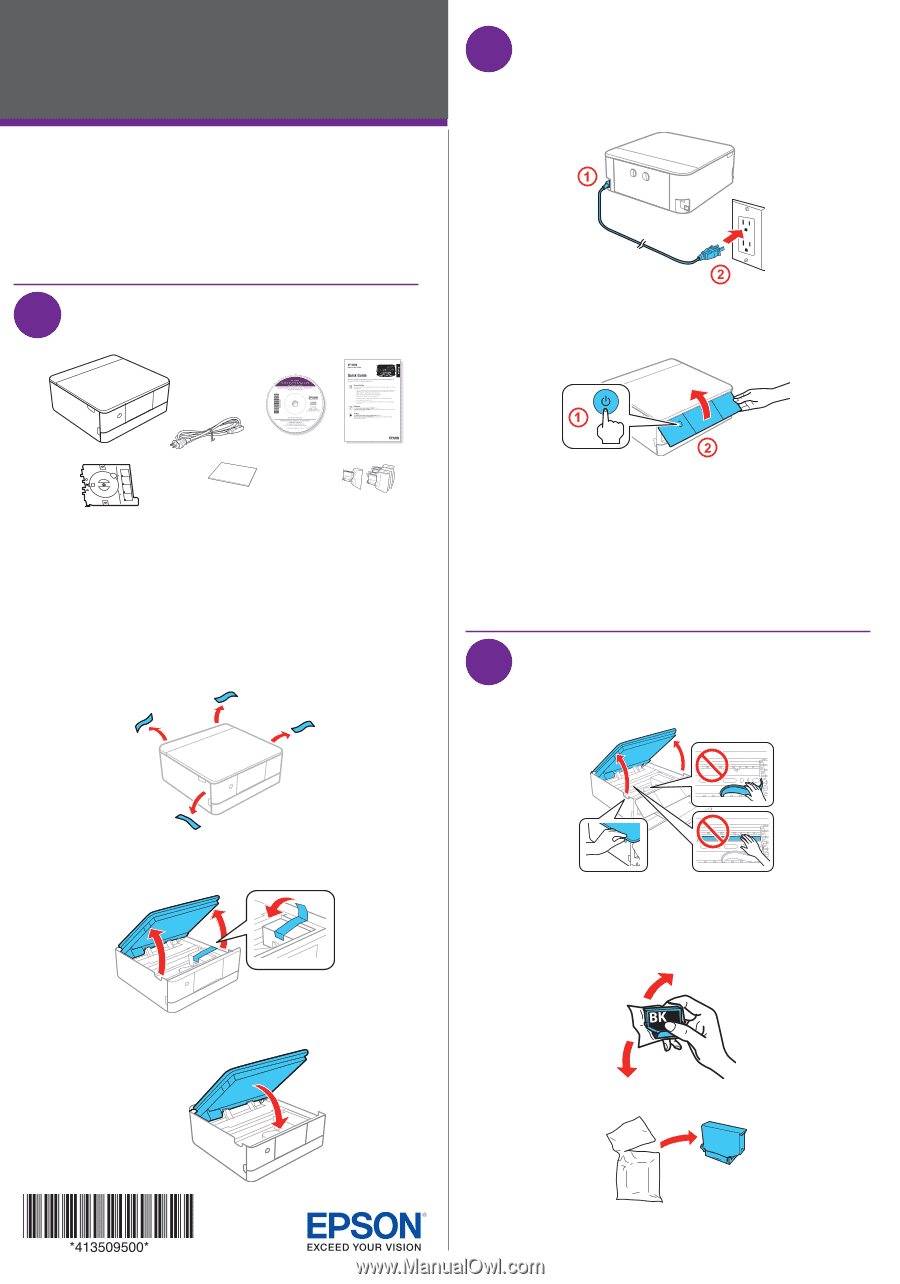
Turn on and configure
1
Connect the power cord to the back of the printer and to
an electrical outlet.
Caution:
Do not connect to your computer yet.
2
Turn on the product, then adjust the control panel.
3
Select your language.
Note:
•
You can change this setting later using the product’s control
panel. For more information, see the online
User’s Guide
.
•
If an error message appears, turn off the product and check
that no protective material has been left inside the product.
3
Install ink cartridges
1
Lift up the scanner unit.
Caution:
Do not touch the flat, white cable or the print head
path.
2
Gently shake the Black (BK) ink cartridge. Do not shake
the Photo Black (PB) or other ink cartridges.
3
Unpack the ink cartridges.
XP-6000 Small-in-One
®
Printer