Reebok Challenger 150 Treadmill English Manual
Reebok Challenger 150 Treadmill Manual
 |
View all Reebok Challenger 150 Treadmill manuals
Add to My Manuals
Save this manual to your list of manuals |
Reebok Challenger 150 Treadmill manual content summary:
- Reebok Challenger 150 Treadmill | English Manual - Page 1
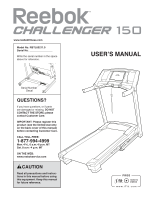
? If you have questions, or if parts are damaged or missing, DO NOT CONTACT manual) before contacting Customer Care. CALL TOLL-FREE: 1-877-994-4999 Mon.–-Fri., 6 a.m.–-6 p.m. MT Sat. 8 a.m.–-4 p.m. MT ON THE WEB: www.reebokservice.com CAUTION Read all precautions and instructions in this manual - Reebok Challenger 150 Treadmill | English Manual - Page 2
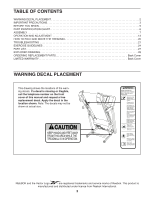
IMPORTANT PRECAUTIONS 3 BEFORE YOU BEGIN 5 PART IDENTIFICATION CHART 6 ASSEMBLY 7 OPERATION AND ADJUSTMENT 13 HOW TO FOLD AND MOVE THE TREADMILL 20 TROUBLESHOOTING 21 EXERCISE GUIDELINES 24 PART LIST 27 EXPLODED DRAWING 28 ORDERING REPLACEMENT PARTS Back Cover LIMITED WARRANTY Back Cover - Reebok Challenger 150 Treadmill | English Manual - Page 3
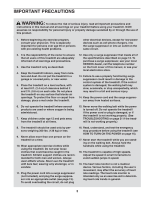
precautions and instructions in this manual and all warnings on your treadmill before using your treadmill. ICON treadmill if the power cord or plug is damaged, or if the treadmill is not working properly. (See TROUBLESHOOTING on page 21 if the treadmill is not working properly.) 8. The treadmill - Reebok Challenger 150 Treadmill | English Manual - Page 4
before clean- ing the treadmill, and before performing the maintenance and adjustment procedures described in this manual. Never remove the motor hood unless instructed to do so by an authorized service representative. Servicing other than the procedures in this manual should be performed by - Reebok Challenger 150 Treadmill | English Manual - Page 5
you for selecting the new REEBOK® CHALLENGER 150 treadmill. The CHALLENGER 150 treadmill provides an impressive selection of features designed to make your workouts at home more effective and enjoyable. For your benefit, read this manual carefully before you use the treadmill. If you have questions - Reebok Challenger 150 Treadmill | English Manual - Page 6
the drawings below to identify small parts used for assembly. The number in parentheses below each drawing is the key number of the part, from the PART LIST near the end of this manual. The number following the key number is the quantity used for assembly. Note: If a part is not in the hardware kit - Reebok Challenger 150 Treadmill | English Manual - Page 7
lubricant on top of the walking belt, wipe it off with a soft cloth and a mild, non-abrasive cleaner. •• To identify small parts, see page 6. •• Assembly requires the following tools: the included hex keys one adjustable wrench one Phillips screwdriver scissors needlenose pliers To avoid damaging - Reebok Challenger 150 Treadmill | English Manual - Page 8
2. Identify the Left Upright (75), which is marked “"Left.”" Have a second person hold the Left 2 Upright near the Base (80). See the inset drawing. Tie the wire tie in the Left Upright (75) securely around the end of the Upright Wire (70). Then, insert the Upright Wire into the lower end of the - Reebok Challenger 150 Treadmill | English Manual - Page 9
4. Identify the Left Handrail (71), which is marked “"Left.”" Remove the tie from the 5/16" Cage Nut 4 (33). If necessary, press the Cage Nut back into place. Hold the Left Handrail (71) near the Left Upright (75). Insert the Upright Wire (70) through the bracket on the bottom of the Left - Reebok Challenger 150 Treadmill | English Manual - Page 10
. Remove the wire tie from the Upright Wire (70). Console Wire Console Wire Wire Tie 70 Console Assembly 70 75 7. Insert the Upright Wire (70) into the Left Upright (75) as you set the console assembly on the Left Handrail (71) and the Right Handrail (72). Make sure that no wires are - Reebok Challenger 150 Treadmill | English Manual - Page 11
Right Handrail Tubes (10, 11) with four #8 x 3/4" 8 Screws (6); start all four Screws, and then tighten them. Do not overtighten the Screws. Console Assembly 11 10 6 6 9. Identify the Left Tray (87) and the Right Tray (88). Make sure that the indicated notch is 9 positioned as shown. Attach - Reebok Challenger 150 Treadmill | English Manual - Page 12
Frame (not shown) (see HOW TO LOWER THE TREADMILL FOR USE on page 20). 49 12 51 Large Barrel Latch Knob 13 80 3 12. Make sure that all parts are properly tightened before you use the treadmill. If there are sheets of plastic on the treadmill decals, remove the plastic. To protect the floor - Reebok Challenger 150 Treadmill | English Manual - Page 13
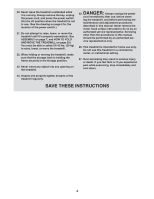
If it should malfunction or break down, grounding provides a path of least resistance for electric current to reduce the risk of electric shock. The treadmill power cord has a plug with a grounding pin (see drawing 1 on this page). DANGER: Improper connection of the power cord increases the risk of - Reebok Challenger 150 Treadmill | English Manual - Page 14
the treadmill as it guides you through an effective exercise session. You can even listen to your favorite workout music or audio books with the console’'s premium stereo sound system while you get in shape. To turn on the power, see page 15. To use the manual mode, see page 15. To use a weight - Reebok Challenger 150 Treadmill | English Manual - Page 15
cord (see page 13). Next, locate the power switch on the treadmill frame near the power cord. Make sure that the switch is in left. 2. Select the manual mode. When the key is inserted, the manual mode will be selected. If a weight-loss workout has been selected, remove the key and then reinsert it - Reebok Challenger 150 Treadmill | English Manual - Page 16
Monitor your progress with the displays. Time/Distance display—-When the manual mode is selected, this display will show the elapsed time. treadmill when you fold it to the storage position. Next, remove the key from the console and put it in a secure place. When you are finished using the treadmill - Reebok Challenger 150 Treadmill | English Manual - Page 17
WEIGHT-LOSS WORKOUT 1. Insert the key into the console. See HOW TO TURN ON THE POWER on page 15. 2. Select a time for the workout. To select a weight-loss on your metabolic rate. In addition, if you manually change the speed or incline of the treadmill during the workout, the number of calories you - Reebok Challenger 150 Treadmill | English Manual - Page 18
guide you through the workout. If the speed or incline setting for the current segment is too high or too low, you can manually override the setting by pressing the Speed or Incline buttons; however, when the next segment begins, the treadmill exercising, remove the key from the console. Next - Reebok Challenger 150 Treadmill | English Manual - Page 19
mode that keeps track of the total number of hours that the treadmill has been used and the total distance that the walking belt has moved To select the information mode, hold down the Stop button while inserting the key into the console and then release the Stop button. When the information mode - Reebok Challenger 150 Treadmill | English Manual - Page 20
HOW TO FOLD AND MOVE THE TREADMILL HOW TO FOLD THE TREADMILL HOW TO MOVE THE TREADMILL To avoid damaging the treadmill, adjust the incline to the lowest position before you fold the treadmill. Then, remove the key and unplug the power cord. CAUTION: You must be able to safely lift 45 lbs. (20 kg) - Reebok Challenger 150 Treadmill | English Manual - Page 21
TROUBLESHOOTING Most treadmill problems can be solved by following the simple steps below. Find the symptom that applies, and follow the steps listed. If further assistance is needed, see the front cover of this manual. SYMPTOM: The power does not turn on b. Make sure that the power cord is - Reebok Challenger 150 Treadmill | English Manual - Page 22
power cord, insert the key, and run the treadmill for a few minutes. treadmill features a walking belt coated with high-performance lubricant. IMPORTANT: Never apply silicone spray or other substances to the walking belt or the walking platform unless instructed to do so by an authorized service - Reebok Challenger 150 Treadmill | English Manual - Page 23
left idler roller screw counterclockwise 1/2 of a turn. Be careful not to overtighten the walking belt. Then, plug in the power cord, insert the key, and run the treadmill for a few minutes. Repeat until the walking belt is centered. a b. If the walking belt slips when walked on, first remove the - Reebok Challenger 150 Treadmill | English Manual - Page 24
over age 35 or persons with pre-existing health problems. The heart rate monitor is not a medical device proper intensity is the key to achieving results. You can use your heart rate as a guide to find the key to success is to make exercise a regular and enjoyable part of your everyday life. 24 - Reebok Challenger 150 Treadmill | English Manual - Page 25
SUGGESTED STRETCHES The correct form for several basic stretches is shown at the right. Move slowly as you stretch—-never bounce. 1. Toe Touch Stretch Stand with your knees bent slightly and slowly bend forward from 1 your hips. Allow your back and shoulders to relax as you reach down toward - Reebok Challenger 150 Treadmill | English Manual - Page 26
NOTES 26 - Reebok Challenger 150 Treadmill | English Manual - Page 27
Speaker Cover 94 4 #8 x 1/2" Pan Head Screw 95 1 Reed Switch 96 8 #8 x 1" Tek Screw * –- User’'s Manual Note: Specifications are subject to change without notice. For information about ordering replacement parts, see the back cover of this manual. *These parts are not illustrated. 27 - Reebok Challenger 150 Treadmill | English Manual - Page 28
EXPLODED DRAWING A 36 24 24 37 42 28 41 19 19 24 46 19 45 47 95 1 44 16 27 48 29 43 23 48 27 32 28 38 19 25 19 19 29 39 19 14 56 40 25 16 49 42 50 28 19 29 41 19 24 24 3 24 19 36 14 19 13 53 19 19 29 19 34 52 35 51 19 12 Model No. RBTL60211.0 - Reebok Challenger 150 Treadmill | English Manual - Page 29
EXPLODED DRAWING B Model No. RBTL60211.0 R0113A 6 6 6 58 3 59 17 20 30 57 3 58 20 22 21 17 60 21 94 1 61 18 6 6 6 6 68 6 62 6 18 63 64 18 65 66 6 6 67 1 6 29 - Reebok Challenger 150 Treadmill | English Manual - Page 30
EXPLODED DRAWING C 9 69 33 71 8 73 7 7 8 70 8 7 74 6 10 6 9 75 4 5 72 8 7 7 8 73 15 1 77 Model No. RBTL60211.0 R0113A 74 6 11 6 69 33 7 8 2 81 77 3 79 96 78 67 26 79 96 80 81 3 77 2 79 96 30 15 78 26 79 96 76 77 5 4 5 4 - Reebok Challenger 150 Treadmill | English Manual - Page 31
EXPLODED DRAWING D 31 55 87 92 92 92 6 6 92 84 6 6 91 6 83 6 86 94 6 90 6 6 1 89 6 6 Model No. RBTL60211.0 R0113A 93 92 6 84 54 92 92 92 92 94 6 6 6 88 6 82 31 - Reebok Challenger 150 Treadmill | English Manual - Page 32
key number and description of the replacement part(s) (see the PART LIST and the EXPLODED DRAWING near the end of this manual) LIMITED WARRANTY IMPORTANT: You must register this product within 30 days of the purchase date to avoid added fees for service if all instructions in this manual are not
-
 1
1 -
 2
2 -
 3
3 -
 4
4 -
 5
5 -
 6
6 -
 7
7 -
8
-
9
-
10
-
11
-
12
-
13
-
14
-
15
-
16
-
17
-
18
-
19
-
20
-
21
-
22
-
23
-
24
-
25
-
26
-
27
-
28
-
29
-
30
-
31
-
32
 |
 |
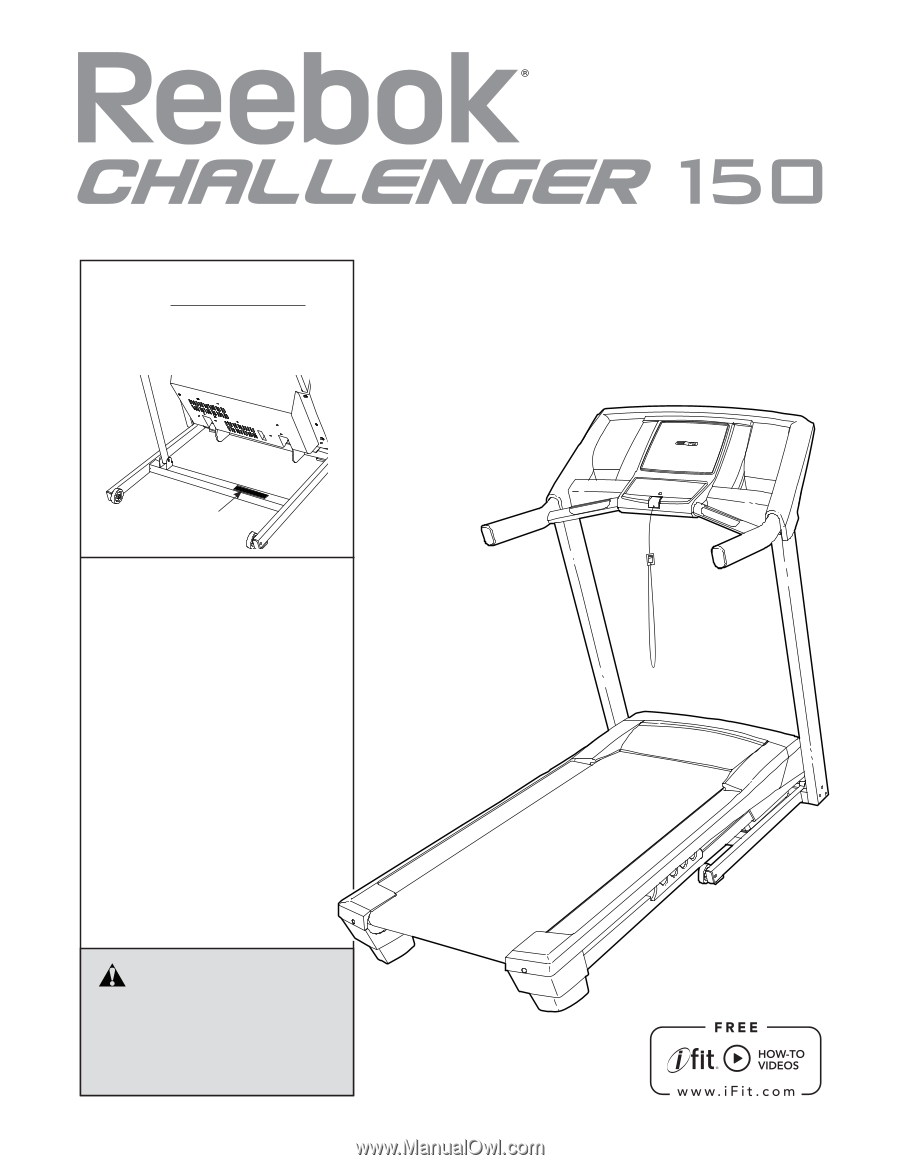
CAUTION
Read all precautions and instruc-
tions in this manual before using
this equipment. Keep this manual
for future reference.
Model No. RBTL60211.0
Serial No.
Write the serial number in the space
above for reference.
QUESTIONS?
If you have questions, or if parts
are damaged or missing,
DO NOT
CONTACT THE STORE; please
contact Customer Care.
IMPORTANT: Please register this
product (see the limited warranty
on the back cover of this manual)
before contacting Customer Care.
CALL TOLL-FREE:
1-877-994-4999
Mon.°Fri., 6 a.m.°6 p.m. MT
Sat. 8 a.m.°4 p.m. MT
ON THE WEB:
www.reebokservice.com
www.reebokfitness.com
Serial Number
Decal
USER±S MANUAL